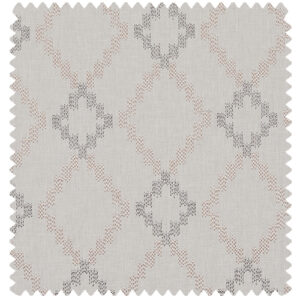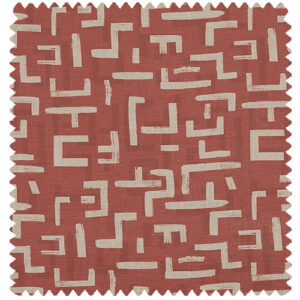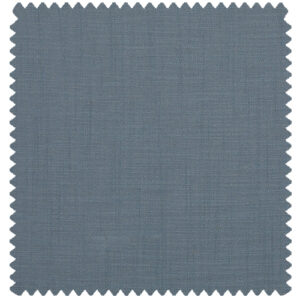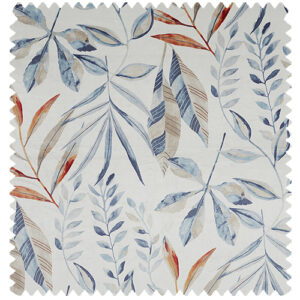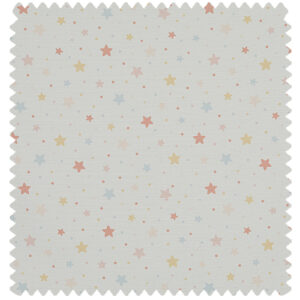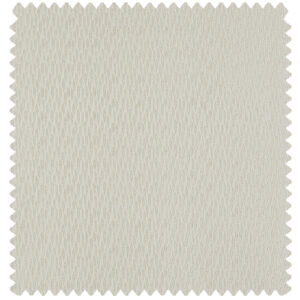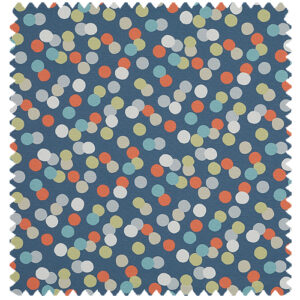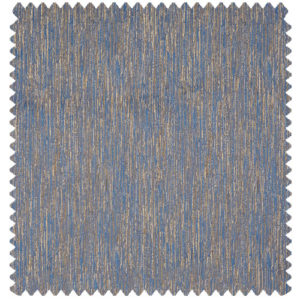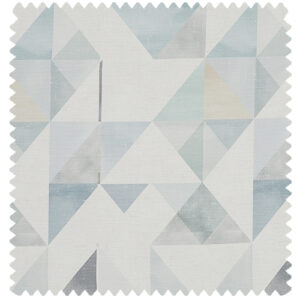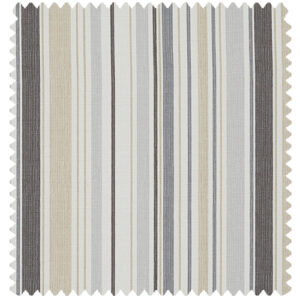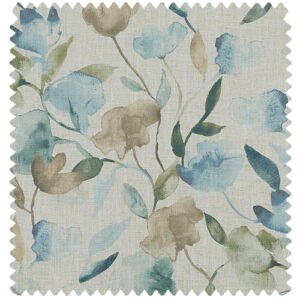
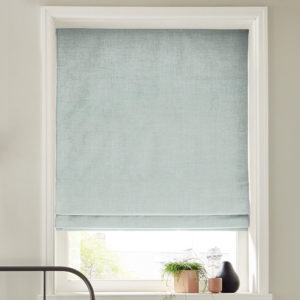
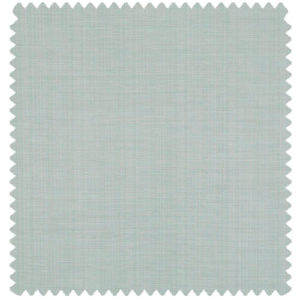
Made to Measure Curtains - Artisan Sky Blue
Dispatched in 21 Working Days
- Description
- Information
- Questions?
- Measuring Guide
- Fitting Guide
Description
- Min Width: 640mm Max Width: 6100mm
- Min Drop: 300mm Max Drop: 3200mm
- Fabric Composition: 84% Polyester, 16% Cotton
- Guarantee: 1 Year
- Fabric Lining: Fully lined as standard, blackout and thermal lining available.
- Fullness: All headings are supplied with double fullness except pinch pleat which is one and three quarter width fullness.
- Finish: Supplied with mitred corners for a neat finish and bottom weights.
- Available as a pair or single curtains.
Additional information
| Colour | Blue |
|---|---|
| Feature | Plain / Textured |
Questions
There are no questions yet. Be the first to ask a question about this product.
Measuring Guide
Getting the correct size for your new curtains is easy with our simple-to-follow guide.
Measuring the Width
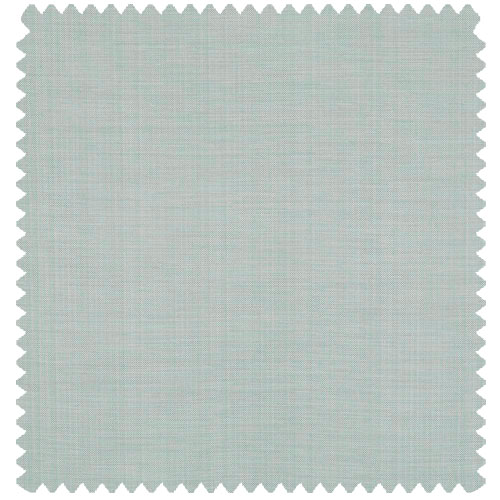
To get the correct width measure the curtain track (fig 1) or pole (fig 2) (excluding finials) and not the window. If a new track or pole is to be fitted, we recommend extending approximately 150mm past the window on both sides and 150mm above the window.
If your curtain track has an overlap (fig 3), take a measurement of the track width and add this to the overlap to get the correct total width (A plus B).
If wave heading is selected ensure the curtains will be fitted to a wave track with gliders spaced at 80mm.
Measuring the Drop
For pencil and pinch pleat curtains which are to be fitted to a curtain track measure from the top of the track (fig 4) to the finished curtain drop. For pencil and pinch pleat curtains which are to be fitted to a curtain pole (fig 5) measure from the bottom of the pole ring eyelet to the finished curtain drop.
Eyelet heading curtains are suitable for poles 28mm in diameter and the centre of the eyelet has a diameter of 40mm. Measure from the top of the curtain pole (fig 6) to the finished curtain drop and add 40mm to this measurement to allow for the material above the eyelets.
For wave curtains measure from the bottom of the track profile (fig 7) to the finished curtain drop.
We recommend allowing 15mm between the bottom of the curtain and the floor, window sill or radiator.
Please note, if fitting eyelet curtains to a wooden pole the eyelets may scratch the pole.
Fig 1
Fig 2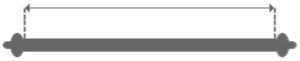
Fig 3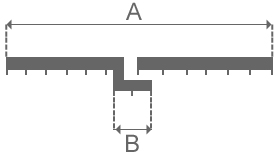
Fig 4
Fig 5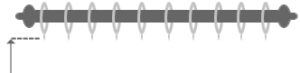
Fig 6
Fig 7
Fitting Guide
Hanging your new curtains is easy with our simple-to-follow guide.
Pencil Pleat Curtains
Identify the left and right hand curtains ensuring that the join in the curtains is on the outer edge (fig 1). Tie the header tape cords on the inner edge of the curtain and pull the header tape cords from the outer edge evenly to create the pleats. Tie the header tape cords on the outer edge and secure behind the header tape, do not cut the header tape cords.
Insert the hooks evenly along the header tape. If fitting to a curtain track use the middle or bottom pencil pleat tape (fig 2 B or C), if fitting to a curtain pole use the top pencil pleat tape (fig 2 A). Once both curtains have been gathered and hooks inserted, your curtains are ready to hang.
Pinch Pleat Curtains
Identify the left and right hand curtains ensuring that the join in the curtains is on the outer edge (fig 1). Pinch Pleat curtains will arrive with stab hooks already in position for fitting to a pole. If fitting to a track, you will need to re-align the hooks. Identify where the stab hooks need to be positioned so that the track is covered by the curtain, usually 9cm from the top of the curtain (fig 3). Ensure the stab hooks do not go through the face of the fabric when re-positioning. Your curtains are now ready to hang.
Eyelet Curtains
Identify the left and right hand curtains ensuring that the join in the curtains is on the outer edge (fig 1). Eyelet curtains are supplied and secured into pleats. Simply slide each curtain onto the pole ensuring the last eyelet is between the finial and the first bracket securing the pole.
.
Fig 1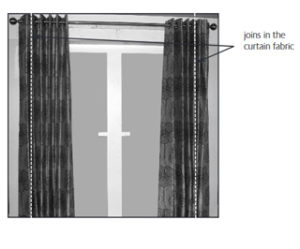
Fig 2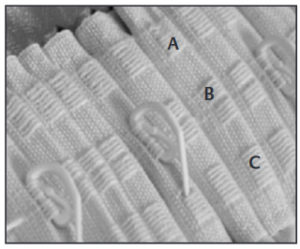
Fig 3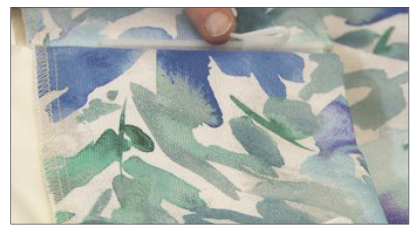
You may also like…
Related Products
-
Machu Blush
From £301.89 -
Tate Grey
From £301.89 -
Stamford Silver
From £207.97 -
Mayari Smoke
From £254.93 -
Desire Buff
From £301.89 -
Lilah Lilac
From £254.93 -
Artisan Terracotta
From £173.09 -
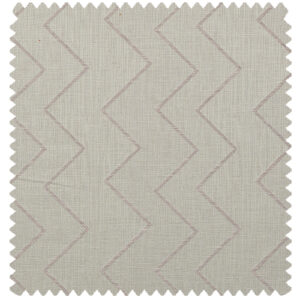
Chevro Grey
From £207.97 -
Osmond Black
From £254.93 -
Maasai Bruschetta
From £254.93 -
Linaria Oat
From £254.93 -
Mode Silver
From £301.89 -
Quinta Cinnamon
From £301.89 -
Stamford Mimosa
From £207.97 -
Linaria Blue
From £254.93 -
Hampton Navy
From £254.93 -
Perspective Teal
From £207.97 -
Quinta Midnight
From £301.89 -
Torazza Dark Teal
From £254.93 -
Morden White
From £254.93 -
Wren Merlot
From £207.97 -
Laguna Henna
From £254.93 -
Amora teal
From £207.97 -
Little Star Silver
From £173.09 -
Mode Blueberry
From £301.89 -
Tate Chalk Pink
From £301.89 -
Impasto Raven
From £207.97 -
Hampton Emerald
From £254.93 -
Marshall Linen
From £301.89 -
Marshall Navy
From £301.89 -
Amira Cranberry
From £173.09 -
Spirit Slate
From £254.93 -
Little Star Sorbet
From £173.09 -
Kyoto Ice
From £173.09 -
Laguna Sorbet
From £254.93 -
Mayari Kiwi
From £254.93 -
Mayari Cinnamon
From £254.93 -
Marshall Sage
From £301.89 -
Indulgance Golden
From £254.93 -
Hampton Ochre
From £254.93 -
Skyler Plum
From £254.93 -
Perspective Liquorice
From £207.97 -
Perspective Silver
From £207.97 -
Kyoto Rose Quartz
From £173.09 -
Roscoe Mimosa
From £207.97 -
Desire Hush
From £301.89 -
Cubis Steel
From £254.93 -
Quinta Lagoon
From £301.89 -
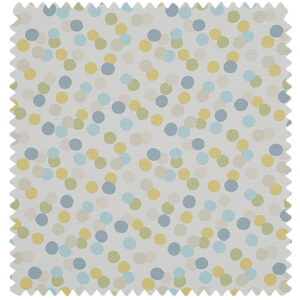
Little Star Joy
From £173.09 -
Fagel Smoke
From £173.09 -
Amora Nightshade
From £207.97 -
Skyler Golden
From £254.93 -
Linaria Tangerine
From £254.93 -
Ambience Pewter
From £301.89 -
Newcombe Charcoal
From £254.93 -
Skyler Apricot
From £254.93 -
Wren Sunrise
From £207.97 -
Artisan Denim
From £173.09 -
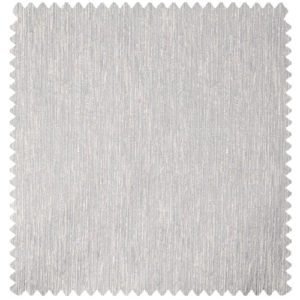
Artisan Dove Grey
From £173.09 -
Skyler Verdigris
From £254.93 -
Riva Ice
From £207.97 -
Skyler Shadow
From £254.93 -
Kyoto Moss
From £173.09 -
Roscoe Multi
From £207.97 -
Celebrate
From £207.97 -
Paval Stone
From £254.93 -
Ambience Peacock
From £301.89 -
Rise Mimosa
From £254.93 -
Silva Treasure
From £254.93 -
Ravello Cobblestone
From £254.93 -
Riva Silver
From £207.97 -
Mode Mineral
From £301.89 -
Linaria Celadon
From £254.93 -
Rise Blue
From £254.93 -
Ambience Merlot
From £301.89 -
Coparo Ice
From £254.93 -
Roscoe Seaglass
From £207.97 -
Leopard Bruschetta
From £254.93 -
Cubis Magnet
From £254.93 -
Perspective Ember
From £207.97 -
Laguna Ebony
From £254.93 -
Osmond Navy
From £254.93 -
Artisan Teal
From £173.09 -
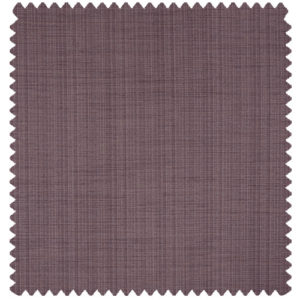
Artisan Mauve
From £173.09 -
Rise Silver
From £254.93 -
Mayari Graphite
From £254.93 -
Chevro Glacier
From £207.97 -
Celebrate Pastel
From £207.97 -
Hampton Slate
From £254.93 -
Novara Peppermint
From £254.93 -
Novara Red
From £254.93 -
Impasto Hemp
From £207.97 -
Stamford Raven
From £207.97 -
Riva Glacier
From £207.97 -
Linaria Moleskin
From £254.93 -
Newcombe Thistle
From £254.93 -
Skyler Breeze
From £254.93 -
Roscoe Berry
From £207.97 -
Perspective Mineral
From £207.97 -
Mode Pine
From £301.89